Here is a first quick and simple tutorial on how to develop and deploy your very first GWT web application to Google App Engine.
Requirements :
Eclipse
Google Web Toolkit plugin for Eclipse
A Google App Engine account + GMAIL account
So here are the steps :
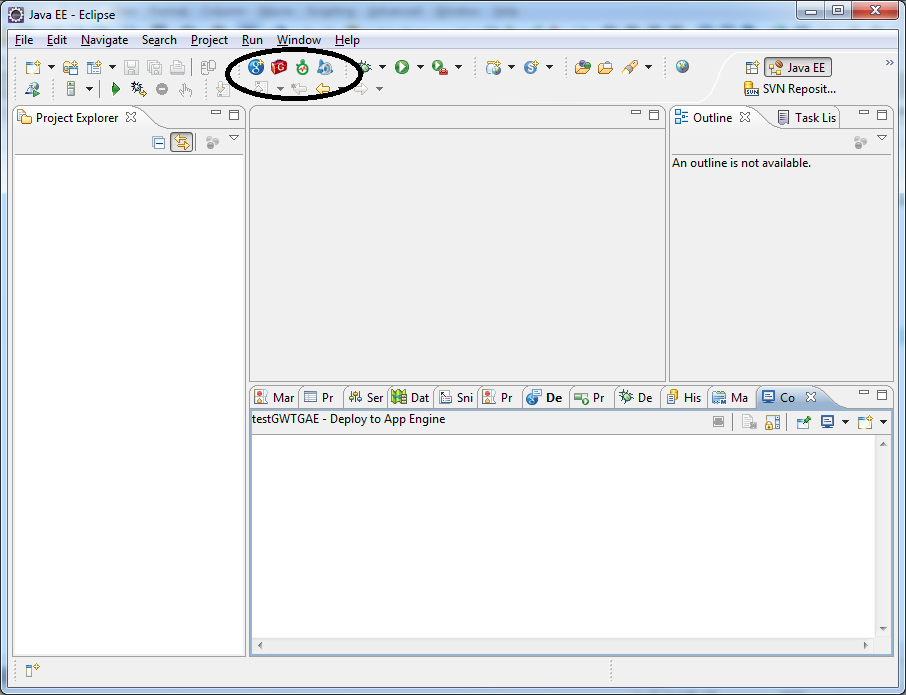
1) In Eclipse, create a new web application project. You can use the button on the left, among the 4 buttons that were added to the menu after installing the GWT plugin for Eclipse.
2) Enter a project name : firstGWTGAE
Enter a package name : com.example.firstgwtgae
Make sure the checkbox “Use Google App Engine” is checked.

Click Finish.
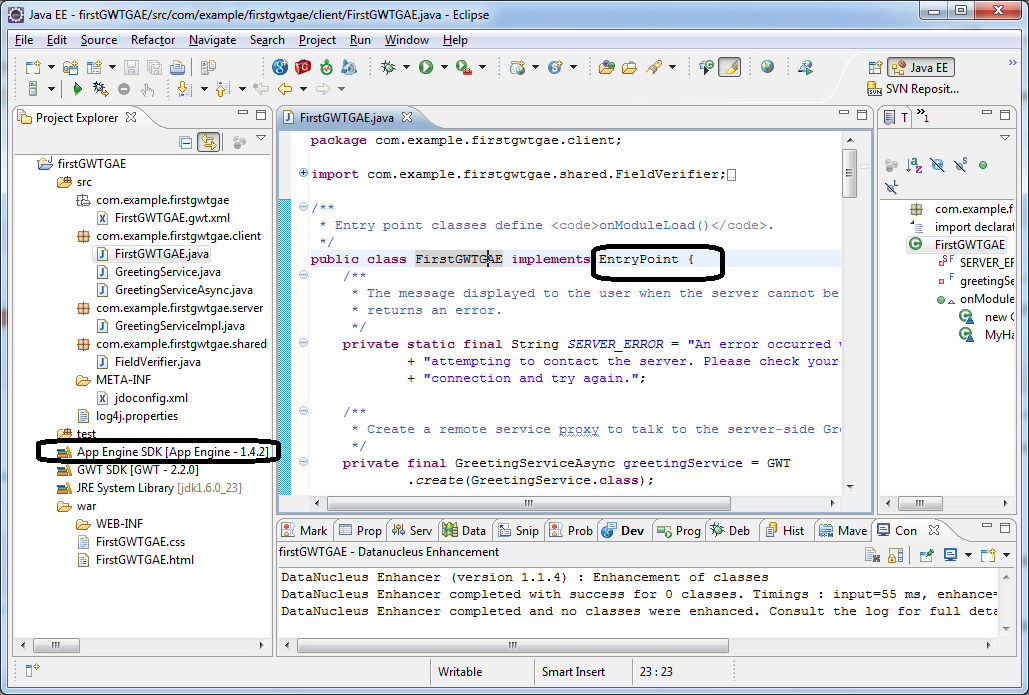
The plugin automatically generates a sample project that is basically a hello world web page.
It is smart enough to create :
– a module XML file : FirstGWTGAE.gwt.xml
– an entry point class : FirstGWTGAE.java
– an RPC service : GreetingService.java (interface), GreetingServiceImpl.java (implementation),
GreetingServiceAsync.java (asynchronous interface)
– an HTML host page : FirstGWTGAE.html
The GAE jar files are included in WEB-INF/lib.
3) Now you can either run it as a web application on the Jetty server that comes with GWT, directly from Eclipse and test it on the URL http://localhost:8888/
Or you can deploy it on GAE. To do that simply click on the “Deploy App Engine project” button in the menu.
You need to enter a project name. By default, it is the current name of the project in Eclipse.
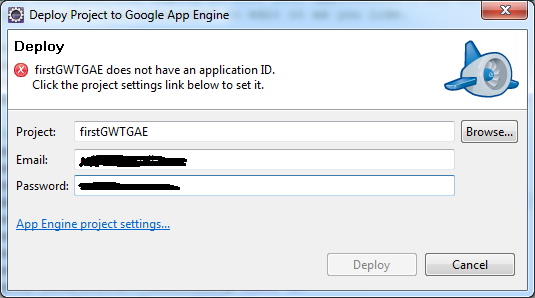
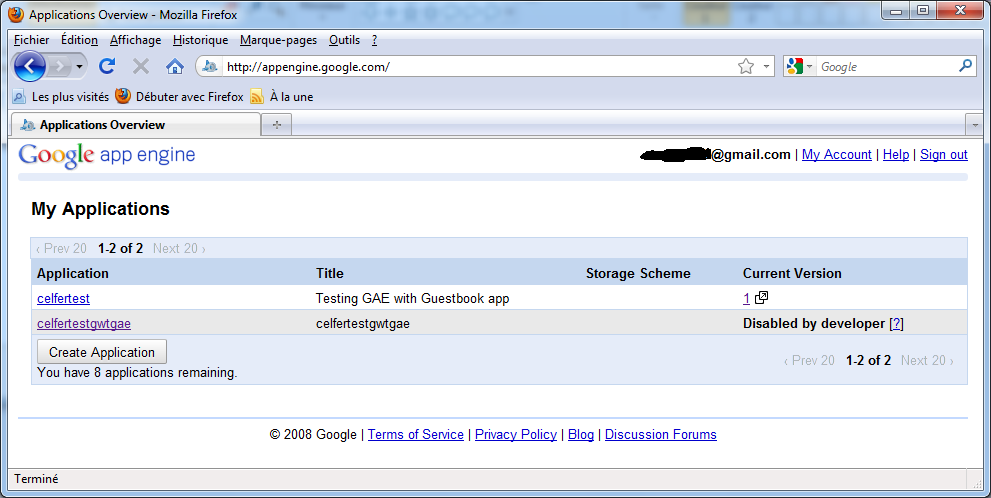
At this point you need to click on “My applications”.
It will open the web browser and point you to the URL http://appengine.google.com/. If you are connected to GMAIL, the page shows your current applications deployed on GAE :
Click on the button “Create application” to create an application identifier. You need to make sure only lower-cases characters are used. For instance name it “firstgwtgaeapp”:
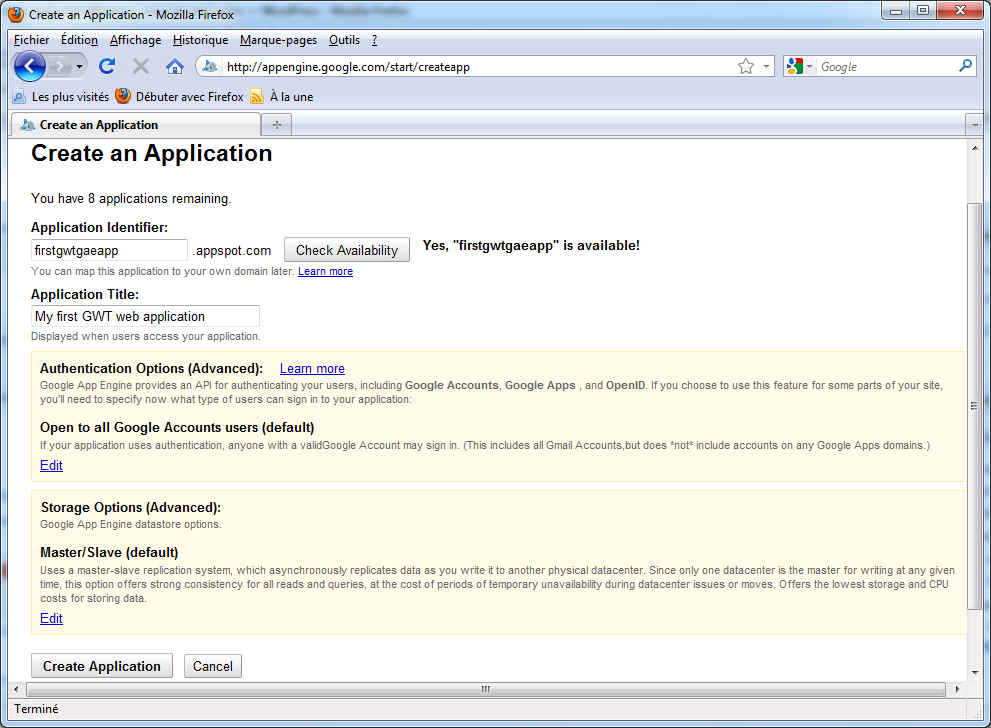
Click on the button “Create application” at the bottom of the page and you should be directed to a page that displays a nice message that says you successfully registered the application.
So the application id (app_id) is firstgwtgaeapp.
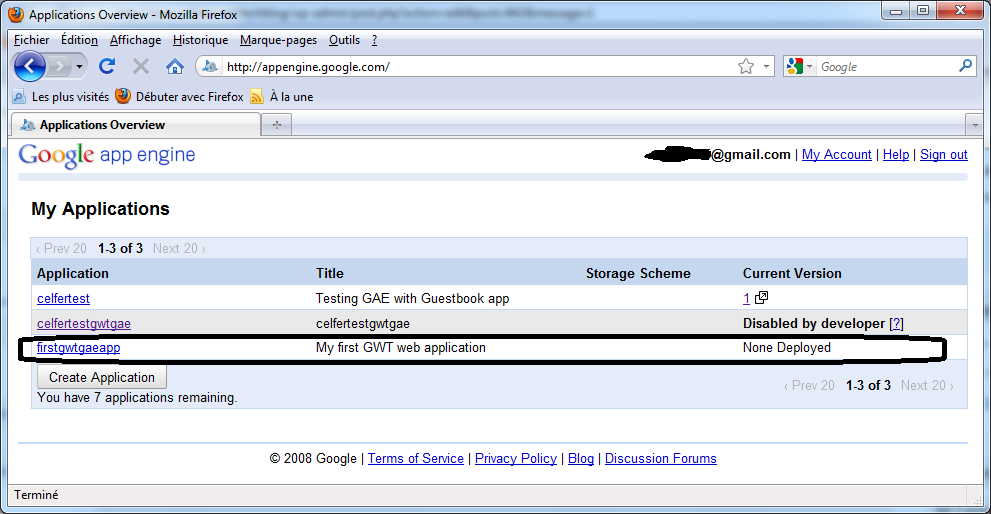
Going back to “My applications” page confirms that the application was created :
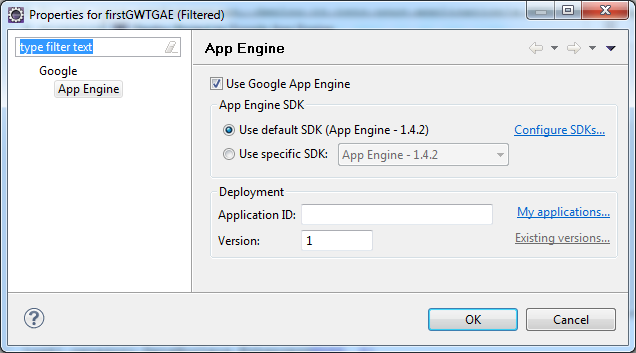
Go back to Eclipse and enter the application id firstgwtgaeapp :

Click OK and deploy.
It wil compile the module com.example.firstgwtgae.FirstGWTGAE and upload the files to your GAE account.
If you refresh the page, you can see that the application was deployed :
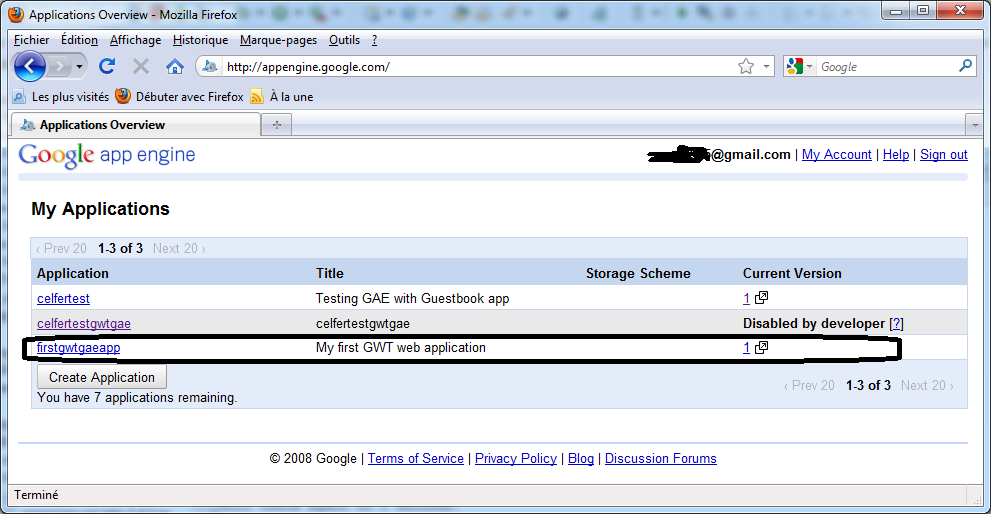
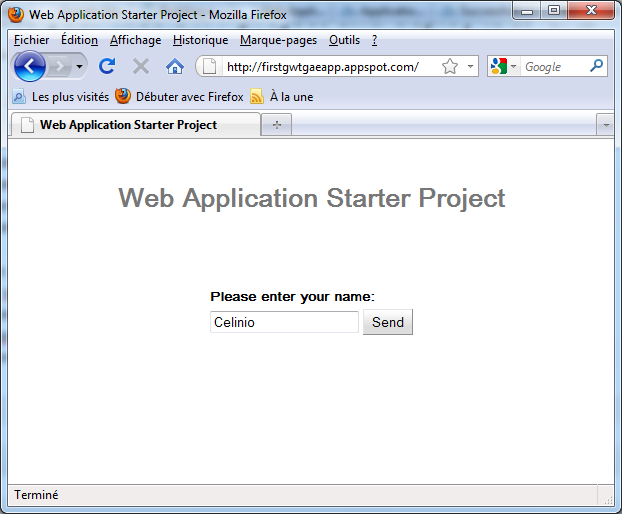
All that is left to do is testing the application. Click on the link to the application version (1) and you will see the classic web application starter project page :
That’s all for this very basic first tutorial to GWT with GAE.